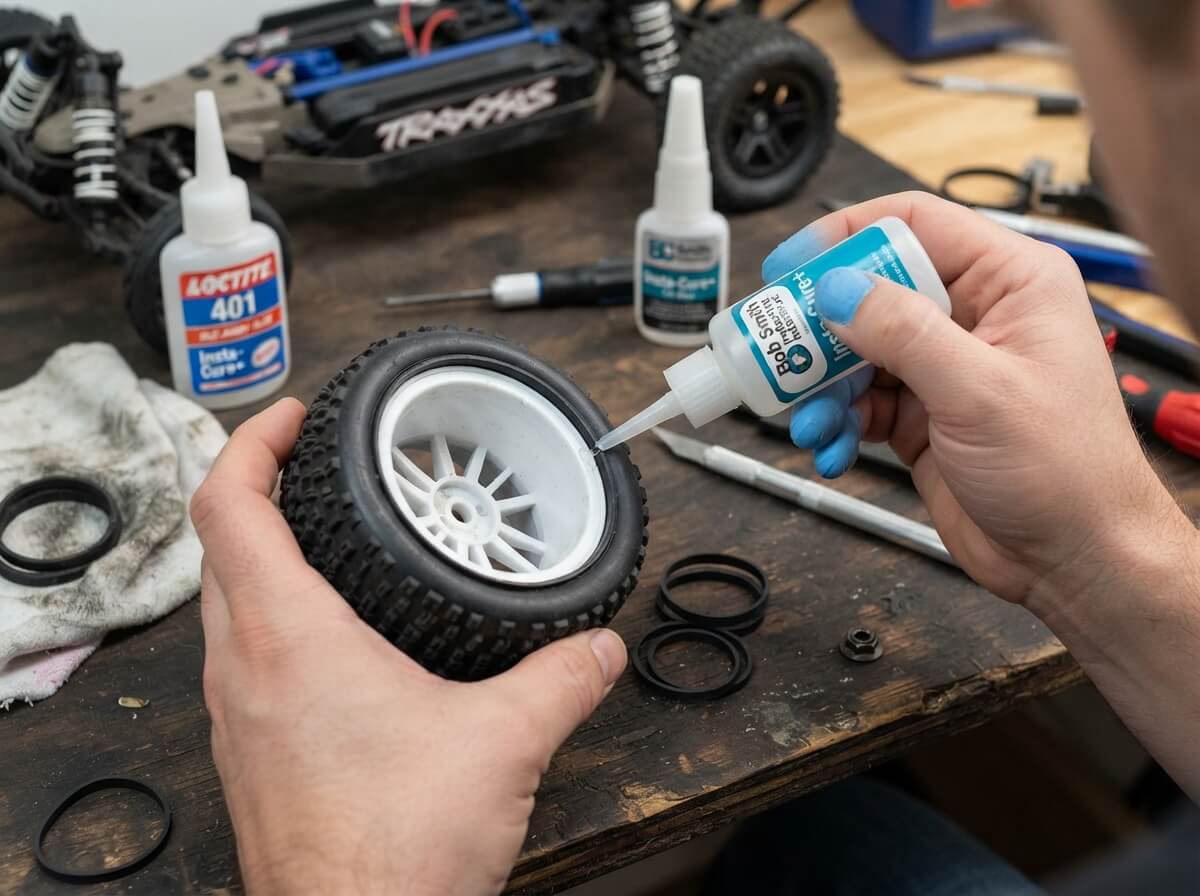
How to Glue RC Car Tires?
If you’re new to the world of remote-controlled cars, you’ll quickly learn that keeping your tires stuck to the rims is crucial for good performance. One of the most important maintenance tasks you’ll face is learning how to glue RC car tires properly. This skill might seem intimidating at first, but once you master it, you’ll save money and keep your vehicle running like a champ. Let me walk you through everything you need to know about tire gluing for RC cars. By the end of this guide, you’ll feel confident tackling this task on your own.
Why Gluing Your RC Car Tires Matters
Your RC car’s tires take a beating every time you hit the track or the pavement. Without proper adhesion between the tire and the wheel rim, your tires will slip, fly off, or wear unevenly. This ruins your driving experience and can even damage your rims. Gluing your tires keeps them locked in place during sharp turns, quick acceleration, and hard braking. Think of it as insurance for your RC car’s performance. When tires are properly bonded to the wheel, your vehicle handles better and lasts longer. You’ll notice improved traction, better cornering grip, and more predictable handling. Racing enthusiasts know that tire adhesion directly impacts lap times and consistency. Even if you’re just cruising for fun, proper tire bonding makes your RC car feel more stable and responsive.
Types of Tires You’ll Work With
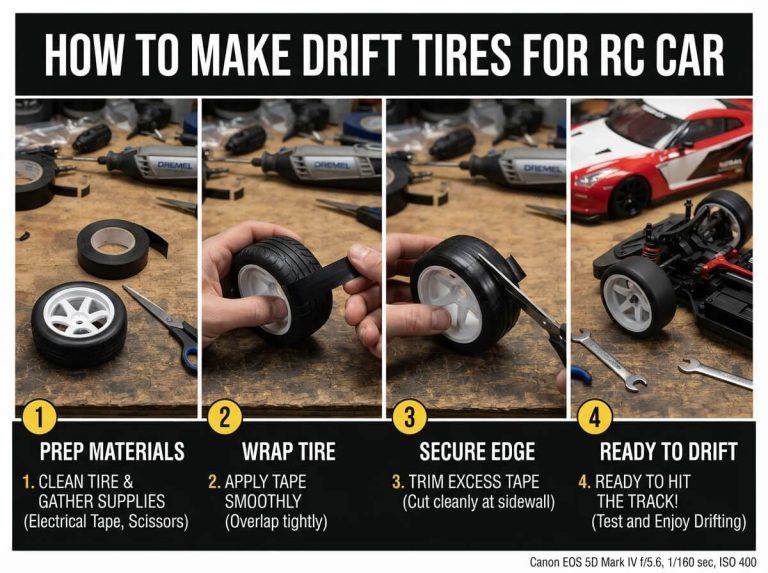
RC cars come with different tire styles designed for specific purposes. Knowing what you’re working with helps you choose the right glue and technique. On-road tires have smooth surfaces and are made from harder rubber compounds. These tires grip asphalt and concrete well. They’re typically thinner than off-road options and used on street-style RC cars and drift vehicles. Off-road tires feature deep treads and come in softer rubber materials. The extra grip helps on dirt, grass, and rough terrain. Monster trucks and buggies use these tires most often. Drift tires are specially designed for sliding and drifting. They have even less grip than on-road tires to make your RC car slide smoothly through corners. Foam inserts sit inside some tires to keep their shape and provide extra support. You need to be careful when working with foamed tires since the adhesive can sometimes affect the foam. Regardless of tire type, the gluing process remains basically the same. The differences come down to the specific glue formula and how long you let it cure.
Tools and Materials You’ll Need
Before you start gluing, gather everything on this list. Having supplies ready prevents frustration and messy mistakes. You’ll obviously need tire adhesive made specifically for RC tires. Dedicated RC tire glue works better than regular super glue. Popular brands like Pit Bull Tires glue, Sweep RC glue, and Tamiya cement all work well. A small brush or applicator helps you apply the glue evenly. Most tire adhesives come with a brush built into the cap. If yours doesn’t, grab a small hobby brush from a craft store. Keep paper towels or shop rags nearby for cleanup. You’ll inevitably spill a drop or two, and quick cleanup saves you from sticky disasters. Wear disposable gloves to protect your hands. Tire adhesive sticks to skin and requires solvent to remove. Nitrile gloves are cheap and work great. A well-ventilated area is essential. Open windows or work in a garage with the door open. Tire glue fumes can make you dizzy, so fresh air is non-negotiable. A clamp, rubber band, or tire jig holds your wheel steady while the glue dries. You want both your hands free to apply the adhesive properly. Sandpaper or a sanding block with medium grit roughens the gluing surface. Slightly rough surfaces bond better than smooth ones. Solvent like acetone or specific glue remover gets your hands clean afterward. Keep it handy since cleanup is part of the process.
Preparing Your Tires and Rims
Success starts with proper preparation. Skipping this step leads to weak bonds and tire separation. First, remove any old glue or dried adhesive from the wheel rim. Use an old knife, scraper, or abrasive pad to scrape away crusty buildup. Work carefully to avoid gouging the rim itself. Take your time here because old glue prevents new adhesive from bonding properly. Next, wash both the tire bead (the inner edge that contacts the rim) and the rim itself with warm soapy water. Use an old toothbrush to scrub away dirt and debris. This removes factory lubricants and grime that interfere with adhesion. Dry everything thoroughly. I recommend using paper towels and letting things air dry for a few minutes. Now sand the contact surfaces lightly. The tire bead and the rim lip should both get gentle sanding. You’re not trying to sand them down dramatically. Just roughen them enough to give the glue something to grip. Light pressure and circular motions work best. Wipe away all dust with a clean, dry cloth. Dust particles create weak spots in your glue line, so don’t skip this step.
Applying the Glue
This is where the actual bonding happens. Take your time and work carefully to avoid mess. Start by applying a thin, even coat of tire glue to the rim lip. Go all the way around the rim. Don’t glob it on thick. A thin coat works better than a thick one because it cures faster and creates a stronger bond. Thick glue takes forever to cure and sometimes stays slightly sticky. Let the first coat dry for about thirty seconds to a minute. Check your specific glue’s instructions since different products have different times. While you wait, avoid touching the glued surface. Apply a second coat to the rim. Again, keep it thin and even. Then immediately apply glue to the tire bead using the same technique. Go all the way around, maintaining consistent thickness. Press the tire onto the rim quickly but firmly. Start at one point and work your way around, pressing as you go. Make sure the tire sits evenly on the rim without gaps. The tire should settle into place without needing excessive force. Some RC enthusiasts use a specific technique. They apply glue, wait a moment for it to get slightly tacky, then press the tire on. This “tacky bonding” method actually works better for many brands of adhesive. Check if your glue brand recommends this approach. Hold the tire in place for thirty to sixty seconds. This initial hold gives the glue time to start bonding before you release pressure. During this time, make sure the tire stays centered on the rim. If you have a tire jig, clamp the wheel in place. If not, a rubber band wrapped around the tire and rim works surprisingly well. The goal is to keep firm pressure on the bonded area while it cures.
Curing Time Matters
Patience is crucial during the curing process. Rush this phase and your tires will separate during driving. Most RC tire glue needs two to four hours of curing time before the bonded tires can handle light driving. Heavy racing or drifting requires longer curing, often six to eight hours or overnight. Always check your specific glue’s instructions for exact curing times. Temperature affects curing speed. Warm conditions speed up curing while cold slows it down. If you’re working in cold weather, give the glue extra time to cure properly. Resist the urge to test your wheels before they’re ready. I know it’s tempting, but premature testing risks ruining fresh bonds. Some people hang their glued wheels vertically or in different positions during curing. This actually helps distribute the adhesive evenly. It’s not necessary, but many pros do it.
Common Mistakes to Avoid
Learning from other people’s errors saves you time and frustration. Applying too much glue creates a thick, messy joint that cures unevenly. The center of a thick glue line cures last, and the outer edges might already be handling stress. Thin, even coats bond better than thick ones. Your goal is a glue line you can barely see. Gluing without cleaning the surfaces first leads to weak bonds. Dirt, grime, and old glue residue create weak spots. Always clean and sand before gluing. Rushing the curing process breaks fresh bonds immediately. Treat newly glued wheels gently until they’re fully cured. Not sanding the contact surfaces leaves them too smooth for the glue to grip. A light roughening makes all the difference. Forgetting to check your tire centering allows tires to sit crooked on the rim. This causes uneven wear and poor handling. Using the wrong type of glue wastes your time and money. Super glue and household adhesives don’t work for RC tires. Invest in dedicated tire glue made for this purpose.
Different Gluing Techniques
Various methods work depending on your tire type and personal preference. The straight gluing method is what most beginners use. You apply glue to the rim, wait briefly, apply glue to the tire, then press them together. This straightforward approach works reliably for on-road tires and off-road tires alike. Some people use the double-coat technique. They glue the rim, wait for it to dry completely, then glue the tire and press it on. This method takes longer but creates exceptionally strong bonds. It works great when you need tires that will last through intense driving. The tackiness method involves waiting a few seconds after applying glue before pressing the pieces together. The glue becomes slightly tacky, almost magnetic-feeling. This tackiness creates stronger initial contact and better overall bonding. Many racing drivers prefer this method. For foam-insert tires, you might want to apply glue only to the rim and not directly to the foam. The foam can absorb too much adhesive, causing swelling or degradation. You want just enough glue on the rim to bond with the tire’s inner wall.
Working with Specific Tire Types
Different tire styles sometimes need slight technique adjustments. With on-road tires, you typically use less glue because these tires fit very snugly on the rim. The tight fit means the glue only needs to prevent slipping, not hold up something loose. Thin coats work perfectly here. Off-road tires have a looser fit, so you might use slightly more glue. The extra adhesive ensures solid bonding throughout the contact area. Still keep it reasonable though. More glue doesn’t mean better bonding. Drift tires are finicky because drivers replace them frequently. Some drift enthusiasts use slightly less permanent bonding methods so they can swap tires without removing all the old glue. This requires more frequent re-gluing but makes tire changes easier. Foamed tires need careful attention around the foam. Apply glue to the outer bead but try to keep it away from the foam itself. If glue soaks into the foam, it can harden or damage the insert.
Removing Old Tires and Glue
Eventually you’ll need to replace worn tires. Removing them without destroying the rim requires patience. Try peeling the tire off by hand first. Sometimes glue has degraded enough that tires come off relatively easily. If that doesn’t work, use a tire iron or flat screwdriver to pry gently between the tire and rim. Work slowly around the circumference. Don’t force it or you’ll damage both the tire and the rim. For stubborn old glue, apply solvent around the bonded area. Let it soak for a few minutes, then try peeling again. The solvent softens the adhesive, making removal easier. Never use excessive heat or try to burn off old glue. This damages the rim and creates fumes. Patience and solvent work better than aggressive removal methods. Once you remove the tire, scrape away old glue residue as mentioned earlier. Clean and sand the rim before applying fresh glue to your new tires.
Storing Glued Wheels Properly
How you store your freshly glued wheels affects how long they last. Keep glued wheels in a cool, dry location. Extreme heat can soften tire adhesive, especially if it’s not fully cured. Store them where they won’t roll around and get bumped. A dedicated wheel storage rack or box keeps them safe. Stack wheels horizontally rather than standing them on their tires. This distributes weight more evenly and prevents stress on fresh bonds. Keep tires away from solvents, gasoline, or other harsh chemicals. These substances can weaken the adhesive over time. If you’re storing wheels long-term, check them periodically. If you notice any separation starting, you can apply fresh glue to problem areas before they worsen.
Troubleshooting Glue Problems
Things don’t always go smoothly. Here’s how to fix common issues. If your tire separates during driving, don’t panic. Let the wheel cool completely, then carefully peel off the tire. Clean the rim thoroughly, removing all old glue residue. Follow the full gluing process again from the beginning. When glue seeps out and creates a sticky mess around the bonded area, you can usually clean this up with a paper towel while it’s still wet. Once glue dries, use solvent to soften it before wiping it away. Tires that sit crooked on the rim after gluing often separate because the bond is uneven. While the glue is still wet, loosen your clamp or rubber band and reposition the tire. Recenter it properly and reapply pressure. If your adhesive seems to fail repeatedly, you might have a bad batch or be using the wrong product for your tire type. Try a different brand or formula recommended for your specific tire style.
Maintaining Your Glued Tires
Proper maintenance keeps your bonds intact longer. After your tires cure, you can drive normally. Just remember that fresh bonds need gentle treatment for their first few runs. Gradually increase your driving intensity as the bond strengthens. Avoid harsh chemical contact. If you spill fuel or other solvents on your tires, wipe them clean immediately. Watch for signs of separation during routine inspections. Catching problems early lets you re-glue tires before they fly off during driving. Rotate your wheels when possible. Uneven wear from always using the same wheels for certain surfaces can stress the bonded areas. Clean your tires regularly. Dirt buildup doesn’t harm the glue directly, but it can hide developing problems.
Final Thoughts on RC Tire Bonding
Gluing RC car tires is a fundamental skill that every enthusiast needs. It might seem complicated at first, but the process becomes second nature after your first successful gluing. The key is taking your time with preparation, applying thin coats of adhesive, and having patience during the curing phase. Rush any step and your results suffer. Take your time and follow these steps, and your tires will stay bonded through countless runs. Start with spare or inexpensive wheels as you practice. Your first attempts might not be perfect, and that’s completely fine. Each time you glue tires, you learn something new about what works best for your specific setup. Once you’ve mastered this skill, you’ll save money by keeping tires on rims longer and knowing exactly how to fix problems when they arise. You’ll also impress other RC enthusiasts with your knowledge and perfect tire bonding technique. Now grab your glue, gather your supplies, and give it a try. Your RC car will thank you with better handling, improved traction, and consistent performance. Happy driving!