How to Upgrade RC Tank?
So you bought an RC tank and now you want more power, more speed, and more fun out of it. Good news: you are in the right place. Upgrading an RC tank is not as hard as it sounds, and you don’t need to be an engineer to do it. With a little patience and the right parts, you can turn a basic toy-grade tank into a beast that climbs hills, crushes small rocks, and fires with more force.
This guide walks you through every part of the tank, one piece at a time. We will talk about motors, gearboxes, batteries, tracks, electronics, and even the fun stuff like smoke units and sound modules. By the end, you will know exactly where to start and how to plan your upgrade path without wasting money on parts you don’t need.
Let’s roll in.
Why Upgrade Your RC Tank in the First Place
Most RC tanks that come in a box are built for casual play. They use cheap motors, plastic gears, and weak batteries. This keeps the price low, but it also means the tank feels slow, weak, and fragile after a few runs.
An upgrade changes all that. Here is what a good upgrade can do for your tank:
- Give it more torque so it can climb over grass, gravel, and small bumps
- Make it faster on flat ground
- Make the gearbox last longer instead of stripping after a month
- Improve battery life so you play longer between charges
- Add realistic effects like smoke, sound, and recoil
- Make the tank stronger so it survives bumps and small crashes
Think of your tank like a car. The stock engine gets you around town, but a tuned engine gets you real performance. The same logic applies here.
Know Your Tank Before You Touch Anything
Before buying any part, you need to know what kind of tank you have. RC tanks come in different scales, like 1/16, 1/24, or 1/72. The scale tells you the size of the tank compared to the real thing. Bigger scale tanks like 1/16 have more room for upgrades because the body is larger and can fit bigger motors and batteries.
You also need to check what brand and model you own. Some brands like Heng Long, Taigen, and Torro have parts made specifically for their tanks. Buying the wrong part can mean it does not fit, and you waste money.
A quick tip: open up your tank and take photos of the inside before you start. This helps you remember where every wire goes when you put it back together.
Start With the Motor
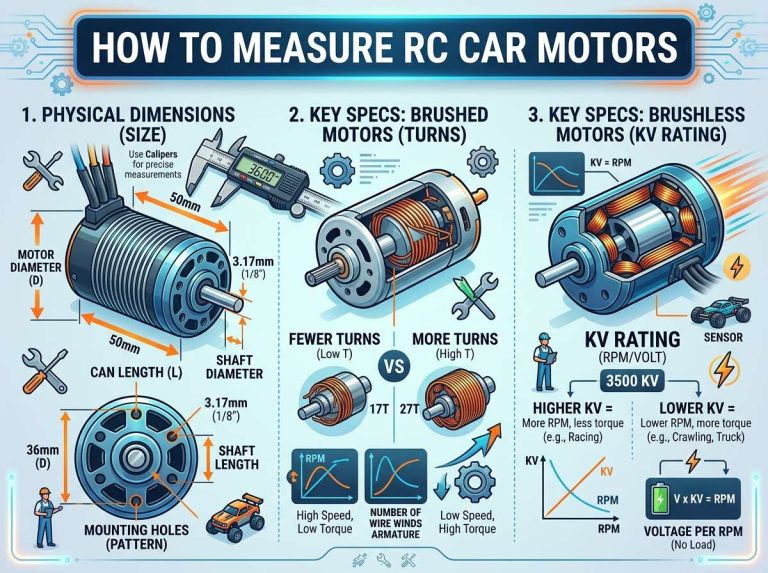
The motor is the heart of your tank. It turns the gearbox, which turns the tracks. If your tank feels sluggish, the motor is often the first thing to blame.
Stock motors in cheap tanks are usually small and weak. Swapping them for a stronger motor, like a 380 or 390 size motor with more torque, can make a huge difference. Some upgraders go even further and use motors used in RC cars, but this only works if your gearbox and body can handle the extra power.
When picking a new motor, look at two things: voltage rating and RPM (rotations per minute). A motor with too high RPM but not enough torque will spin fast but stall when it hits any resistance, like grass or a slope. A motor with good torque and moderate RPM will move steady even on rough ground.
Here is a simple rule: for indoor and smooth surface tanks, go for higher RPM. For outdoor tanks that face grass, dirt, or small hills, go for higher torque.
Upgrade the Gearbox Next
A stronger motor without a stronger gearbox is like putting a race engine in a car with bicycle wheels. The gearbox needs to handle the extra power, or it will strip and break.
Most stock gearboxes use plastic gears. These are cheap to make but wear out fast, especially once you add a stronger motor. Metal gearboxes are the standard upgrade here. They cost more, but they last much longer and handle torque without cracking.
When you install a metal gearbox, always add a drop of grease on the gears before closing it up. This small step reduces friction and heat, which means your gearbox will run smoother and last longer.
Some tanks also let you upgrade the gear ratio itself. A lower ratio gives more speed but less pulling power. A higher ratio gives more pulling power but less top speed. Pick based on how you plan to use your tank. If you race on flat ground, go for speed. If you drive on rough terrain, go for pulling power.
Battery Power Matters More Than You Think
A tank with a great motor and gearbox still needs enough power to run them well. This is where the battery comes in.
Most stock tanks use basic NiMH (Nickel-Metal Hydride) batteries. These work fine for casual play but drain fast and don’t deliver strong bursts of power. Upgrading to a LiPo (Lithium Polymer) battery gives your tank a big boost. LiPo batteries deliver power faster and last longer per charge compared to similar-sized NiMH batteries.
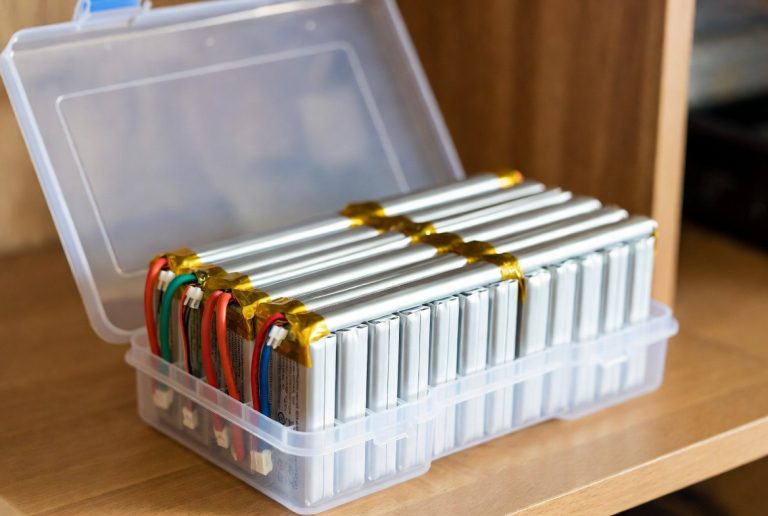
But be careful here. LiPo batteries need proper care. Never overcharge them, never puncture them, and always store them in a fire-safe bag when not in use. They hold a lot of energy in a small size, and mishandling them can be dangerous.
Also check the voltage rating of your electronics before switching batteries. If your tank runs on 6 volts and you install an 8 volt battery without checking the rest of the electronics, you risk burning out your motor or control board.
Improve the Tracks and Wheels
Tracks are what actually touch the ground, so their condition changes how your tank drives. Stock plastic tracks can crack over time, especially in cold weather or after heavy use.
Upgrading to metal tracks or thicker rubber tracks gives your tank better grip and durability. Metal tracks look more realistic too, which is a nice bonus if you care about how your tank looks and not just how it performs.
Wheels also matter. Some upgrade kits replace the small stock wheels with metal bearing wheels. Bearings reduce friction, which means the tracks move smoother and the motor doesn’t have to work as hard. Less strain on the motor means longer life for the whole drive system.
If you notice your tank pulling to one side while driving straight, check your tracks and wheels first. Uneven wear or a loose track can cause this problem easily.
Add a Better Control Board
The control board is the brain of your tank. It takes signals from your remote and tells the motors what to do. Stock boards in cheap tanks are basic and sometimes laggy.
Upgraded control boards, often called “smart” boards in the hobby community, add features like:
- Smoother acceleration control instead of jerky starts
- Sound effects like engine noise and firing sounds
- Support for smoke units
- Better range with the remote
- Programmable settings for speed and turning sharpness
If your budget allows it, this is one of the upgrades that changes the entire feel of driving your tank. It’s the difference between a toy that just moves and a tank that feels alive.
Don’t Forget the Suspension
Suspension might not be the first thing people think about, but it plays a big role in how your tank handles rough ground. Stock suspension springs are usually stiff and cheap.
Softer or adjustable suspension springs let the tank absorb bumps better. This keeps the tank stable and stops it from bouncing around when driving over uneven surfaces like grass or gravel. A tank with good suspension also protects its internal electronics from shock damage over time.
If your tank came with a hard suspension setup, look into replacement spring kits made for your specific model. Even a small change here can make outdoor driving feel much smoother.
Sound and Smoke: The Fun Add-Ons
Once your tank drives well, you might want to make it feel more real. This is where sound modules and smoke units come in.
A sound module plays engine noise, track sounds, and firing effects through a small speaker. Some advanced boards even let the sound change based on your speed, so it revs up like a real engine.
A smoke unit uses a small heating element and fluid to create smoke that comes out of the barrel when you fire. It’s a small detail, but it adds a lot of charm and makes your tank look way cooler on camera or during group play sessions with friends.
These add-ons don’t improve performance, but they boost the fun factor a lot. If you’re building your tank for hobby enjoyment and not just competition, these are worth considering.
Recoil System for Extra Realism
Some hobbyists take realism further by adding a recoil system to the barrel. This makes the barrel move backward slightly every time the tank fires, just like a real tank. It’s a small mechanical upgrade, usually involving a spring and a simple mechanism inside the turret.
This upgrade is more about looks and realism than performance, but for many collectors and hobby fans, it’s one of the most satisfying upgrades because it makes the tank feel alive during every battle or demo run.
Armor and Body Reinforcement
If you plan to use your tank in battle games with other tanks, like the popular airsoft BB tank battles, you’ll want to think about armor. Stock plastic bodies can crack under repeated hits.
Some hobbyists reinforce weak points with thin metal sheets or stronger plastic panels. This doesn’t need to be heavy or complicated. Even small reinforcement at common crack points, like the turret ring or hull corners, can extend the life of your tank a lot.
Just remember that adding weight changes how your tank handles. Heavier armor means your motor and battery need to work harder, so balance protection with performance based on what you value more.
Planning Your Upgrade Budget
Upgrading a tank piece by piece is smart because it spreads out the cost and lets you feel the difference at each stage. Here’s a simple order most hobbyists follow, based on value for money:
- Metal gearbox — biggest jump in reliability
- Stronger motor — noticeable power boost
- LiPo battery — better performance and runtime
- Metal tracks and bearing wheels — smoother driving and less wear
- Smart control board — adds control and fun features
- Sound and smoke units — pure fun factor
- Recoil and armor — final touches for realism and toughness
You don’t need to do everything at once. Start with the gearbox and motor since they give the biggest improvement for your money. Then move down the list based on your budget and how you plan to use your tank.
Common Mistakes to Avoid
Even experienced hobbyists make mistakes when upgrading. Here are a few to watch out for:
Skipping the gearbox upgrade. Putting a strong motor into a weak plastic gearbox is one of the fastest ways to break your tank. The gears will strip within days.
Ignoring voltage limits. Always match your battery voltage to what your electronics can handle. Going too high without checking can fry your control board.
Rushing the wiring. Take your time when connecting new parts. A loose wire or wrong connection can short out your whole system.
Adding too much weight at once. Heavy armor and add-ons slow your tank down if the motor and battery aren’t upgraded to match. Balance is key.
Not testing after each step. Test your tank after every single upgrade, not just at the end. This way, if something goes wrong, you know exactly which part caused it.
Tools You’ll Need
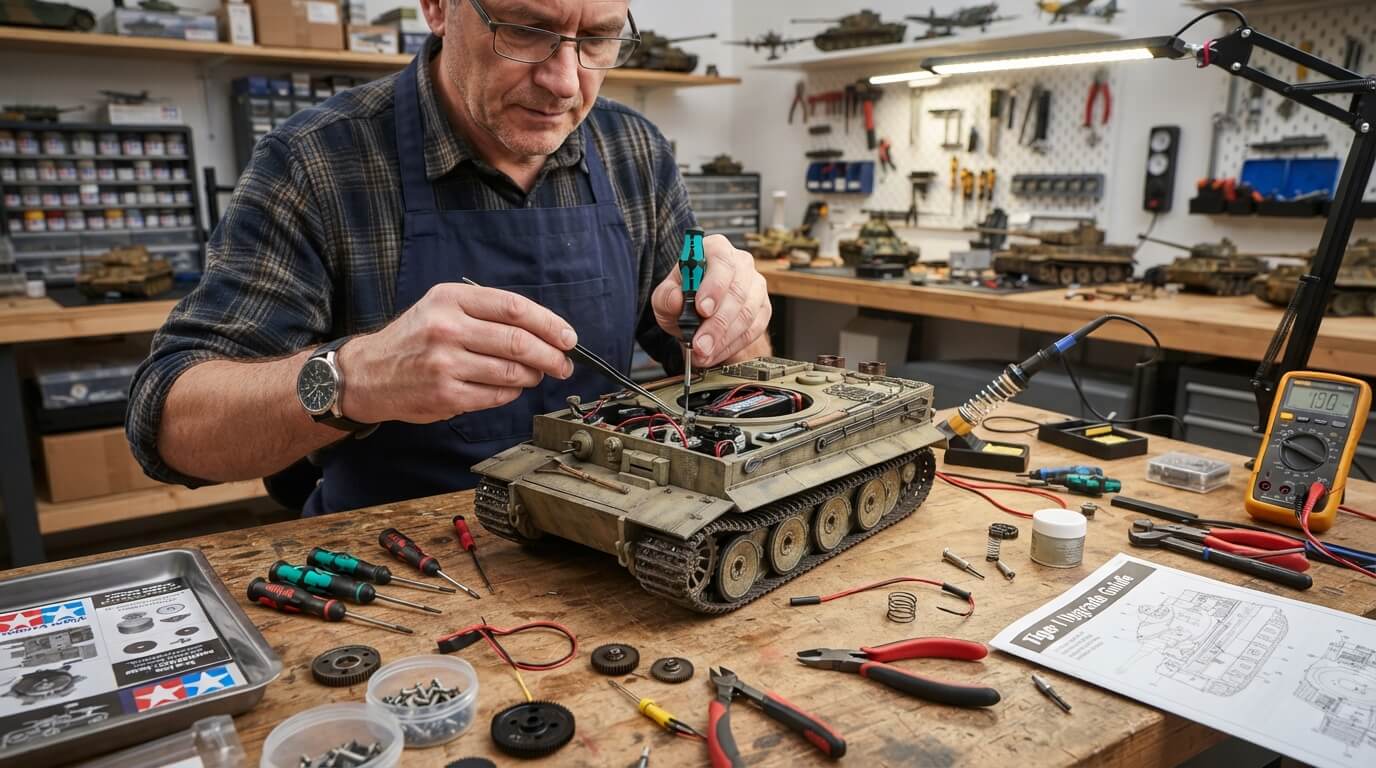
Before you start any upgrade project, gather these basic tools:
- Small screwdriver set (Phillips and flathead)
- Soldering iron and solder, for wiring work
- Wire cutters and strippers
- Tweezers for small parts
- A multimeter to check voltage and connections
- Grease or lubricant for gears
- Heat shrink tubing for wire connections
Having these ready before you begin saves time and stops you from pausing halfway through a project because you’re missing something simple.
Step-by-Step: A Simple First Upgrade Project
If you’re new to this, here’s a simple plan to follow for your very first upgrade:
Step 1: Open your tank and take photos of the wiring layout.
Step 2: Remove the old gearbox and replace it with a metal gearbox made for your model.
Step 3: Add a drop of grease on the new gears before closing the gearbox.
Step 4: Swap the stock motor for a stronger one that matches your gearbox’s shaft size.
Step 5: Reconnect all wires carefully, matching the photos you took earlier.
Step 6: Test the tank on a flat surface before trying rough ground.
Step 7: If everything runs smooth, try it outdoors on grass or a small slope to see the improvement.
This simple project alone can transform how your tank feels, and it gives you confidence to move on to bigger upgrades later.
Maintenance Tips to Keep Your Upgraded Tank Running Well
Once you’ve upgraded your tank, keep it in good shape with these habits:
- Clean the tracks after outdoor use to remove dirt and grass
- Check gearbox grease every few months and top it up if needed
- Store LiPo batteries in a fire-safe bag at proper storage voltage
- Inspect wires for any fraying or loose connections
- Tighten any screws that loosen from vibration during use
A little maintenance goes a long way in keeping your upgraded parts working smoothly for a long time.
Joining the RC Tank Community
One of the best parts of this hobby is the community around it. Many hobbyists share upgrade guides, part reviews, and battle videos online. Joining forums or groups focused on RC tanks can help you learn from other people’s experience, avoid common mistakes, and even find good deals on upgrade parts.
Some communities also organize small meetups or tank battle events using BB-firing tanks. These events are a great way to test your upgrades in a fun, friendly setting and see how your tank performs against others.
Final Thoughts
Upgrading an RC tank is a fun journey, not just a one-time task. Every part you improve, from the motor to the gearbox to the tracks, adds a new layer of performance and realism to your build. Start small, test often, and build up your tank piece by piece based on your budget and goals.
Maybe you’re aiming for raw speed, maybe you want strong torque for rough terrain, or maybe you just want a tank that looks and sounds amazing. Either way, there’s an upgrade path for you. Take your time, enjoy the process, and soon you’ll have a tank that feels nothing like the stock version you started with.
Grab your tools, plan your first upgrade, and get ready to see your RC tank perform like never before.