How to Build an RC Car From Scratch?
Building your own remote-controlled car sounds like a huge task, but it’s totally doable. You don’t need to be a mechanic or engineer to create a working RC vehicle. In fact, tons of hobbyists build their own radio-controlled cars right in their homes or garages with just some basic tools and the right parts.
This guide walks you through every step. By the end, you’ll know exactly how to build a custom RC car that works great and brings you tons of fun.
Why Build Your Own RC Car?
Before we jump into the how-to stuff, let’s talk about why building your own makes sense. Sure, you could just buy a ready-made RC car at a store. But when you build one yourself, something special happens.
You save money. Pre-built models cost a lot, especially the good ones. Building from scratch cuts the cost way down. You pick each part, so you control what you spend.
You learn how things work. When you assemble every piece yourself, you understand your car inside and out. This knowledge helps you fix problems fast and upgrade parts later.
You create something unique. Your DIY RC car is yours alone. You pick the colors, the parts, the style. No other car on the block looks quite like yours.
You have fun in a new way. Building brings its own joy. You’ll enjoy the car more because you made it happen with your own hands.
Gather Your Tools and Materials
Let’s start with what you need to have ready before you begin.
Tools you’ll need:
- A screwdriver set (Phillips and flat head)
- A hex key set or Allen wrench set
- Needle-nose pliers
- Wire cutters
- Hot glue gun and glue sticks
- A soldering iron and solder (if you plan to connect wires)
- Sandpaper (medium and fine grit)
- A small ruler or measuring tape
- Safety glasses
Parts you must get:
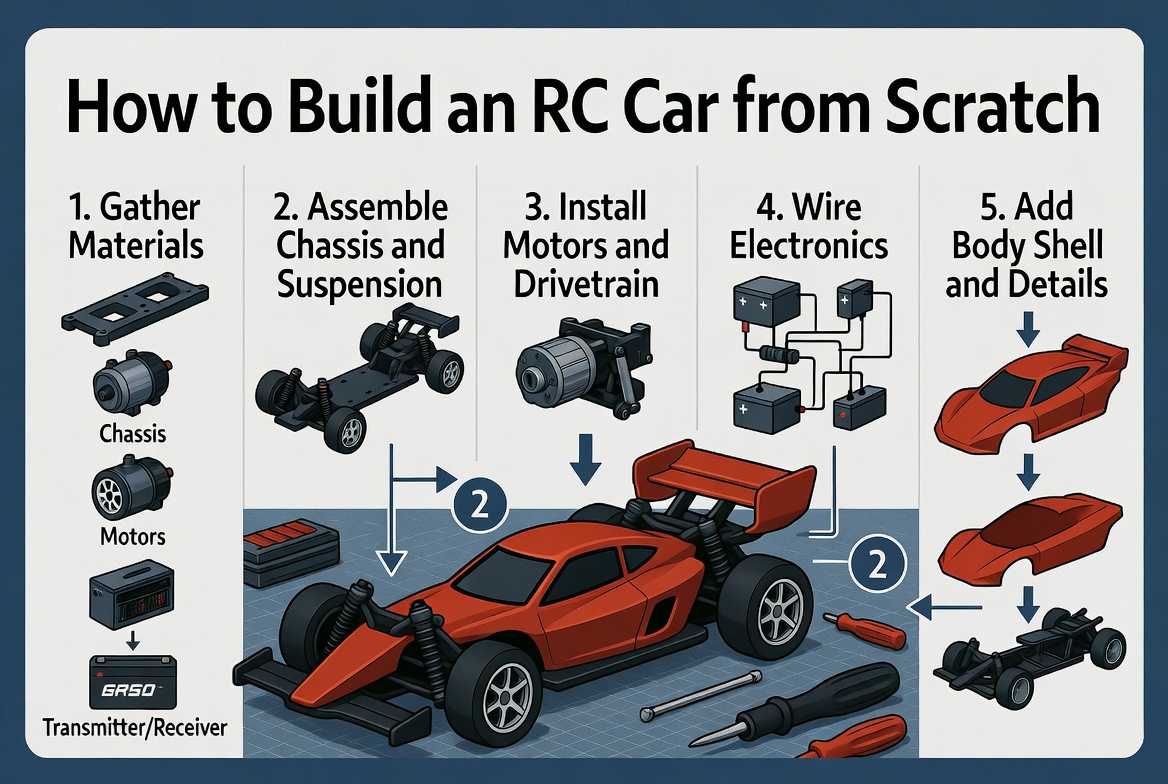
- RC car chassis or frame
- Electric motor and motor mount
- Motor speed controller (ESC)
- Radio receiver and transmitter
- Servo motor for steering
- Battery and battery connector
- Wheels and tires
- Axles and bearings
- Suspension parts (arms, springs)
- Screws, nuts, and bolts
- Body shell or frame material
- Wiring and connectors
Don’t feel pressure to buy the most expensive parts. Budget-friendly options work great for your first build. You can always upgrade later when you gain more experience.
Pick Your Chassis Type
The chassis forms the foundation of your radio-controlled car. This is the frame that holds all your parts together.
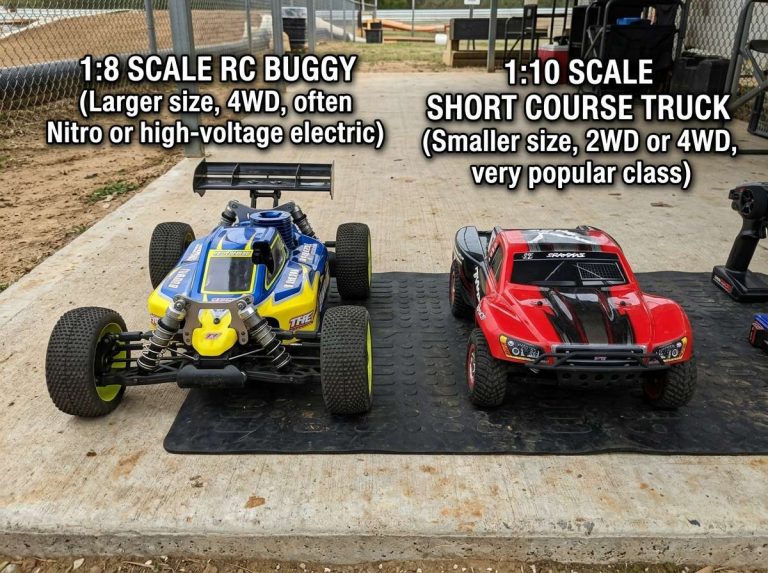
You have a few directions to go. Touring car chassis work best on flat surfaces like parking lots and floors. They’re stable and easy to control. Off-road chassis handle bumpy ground, rocks, and grass. They sit higher and have stronger suspension. Buggy chassis split the difference – they’re built for tougher terrain but still fairly simple to drive.
For your first build, go with a touring car chassis. They’re forgiving, fun to drive, and make learning easier. You can find pre-made chassis kits online or at hobby shops. These kits come with most pieces you need, saving you from figuring out what goes where.
Install the Motor and Transmission
Your electric motor is the heart of your DIY RC car. This small but powerful motor spins and makes everything move.
Start by mounting the motor to the chassis using the motor mount. Line up the motor so it sits straight. Use screws to secure it firmly. Don’t overtighten – just make sure it doesn’t wiggle.
Next, connect the motor to the transmission. The transmission takes power from the motor and sends it to the wheels. This part has gears that transfer motion. Slide it onto the motor shaft with care. Make sure all the gears line up properly so power flows smoothly.
Test the connection by hand. Spin the motor shaft and watch the transmission respond. Everything should turn smoothly without grinding sounds.
Set Up the Speed Controller
Your electronic speed controller, called an ESC, is like the gas pedal for your RC vehicle. It tells the motor how fast to spin based on signals from your remote control.
Mount the ESC to a flat part of the chassis using double-sided tape or plastic ties. Keep it away from water and dirt as much as you can.
Now comes the wiring part. This looks tricky but it’s simple once you break it down. Connect the ESC to the motor using the wires that come with it. The ESC has three wires – usually red, black, and white or another color. The red wire connects to power, black goes to ground, and the third wire sends the signal.
Connect the battery to the ESC’s power input. Most ESCs use a special connector called a XT60 or similar. Check your parts to see what type you have. Plug everything in tight so nothing slides loose.
Add the Servo and Steering
Your servo motor controls the steering in your remote control car. This small motor connects to the steering linkage and turns your front wheels left and right.
Mount the servo to the chassis where it can reach the steering linkage. Use the mounting bracket that comes with your servo. Make sure it sits level and solid.
Connect the steering linkage arms from the servo to the front wheels. You’ll use small metal or plastic rods for this. These rods pull or push the wheels to make them turn. Adjust the length until the steering feels smooth and responsive.
Plug the servo cable into your speed controller. The controller sends steering signals to the servo, which moves your wheels. Everything connects together like a puzzle.
Install the Wheels and Tires
Wheels make your RC vehicle move across the ground. Pick wheels that match your chassis type.
Slide the wheels onto the axles. Use the locking collars and nuts that come with your kit to hold them tight. Spin each wheel by hand. They should turn freely with no dragging or grinding.
Put the tires on the wheels. Some tires are glued on already. Others you’ll glue yourself. If you’re gluing, use the rubber cement or tire glue that comes with them. Apply a thin line around the wheel rim, press the tire on, and let it dry completely.
Make sure all four wheels sit at the same height. If one wheel hangs lower or higher, your car will pull to one side. Adjust the suspension springs or ride height until everything sits even.
Connect the Battery System
Your battery is the fuel for your remote control car. Most hobby RC cars use rechargeable lithium polymer batteries called LiPo batteries. These pack lots of power into a small space.
Charge your battery fully before using it. Follow the charger instructions carefully. Overcharging damages batteries and can make them dangerous.
Connect the battery to your ESC using the connector that fits. Make sure it clicks in place. A loose connection wastes power and can cause problems.
Most builds use a battery case or holder that sits under or on the chassis. Strap your battery down with velcro or plastic ties so it doesn’t bounce around while your car runs.
Build or Mount the Body
Your RC car’s body is the shell that covers all the mechanical parts. This is where you get creative.
You can buy a pre-made plastic body designed for your chassis type. These snap together and look great. Just follow the instructions to assemble and paint them.
You can also build a body from foam, plastic sheets, or even balsa wood if you want something custom. Cut your material to shape, attach it to the chassis, and paint it your favorite colors.
Mount the body so it doesn’t interfere with wheels or suspension. Leave gaps for wheels to turn and suspension to move. Test everything by hand before final assembly.
Program and Test Your RC Vehicle
Now comes the exciting part – bringing your car to life.
First, program your radio control system. This is the transmitter in your hands and the receiver in the car. Most systems come with instructions for this step. Usually you just follow a setup menu to match the transmitter and receiver together.
Program your ESC settings next. Some ESCs come pre-programmed for basic use. Others need configuration. Check your ESC manual to see if you need to adjust settings like brake strength or throttle response.
Place your car on the ground in a safe, open space. A parking lot or large field works great. Turn on your transmitter first, then the ESC. This order prevents your car from taking off by accident.
Gently move the throttle stick on your transmitter. Your car should crawl forward slowly. Test steering by turning the steering wheel on your transmitter. The front wheels should respond.
If something doesn’t work right, don’t panic. Check all connections. Make sure the battery is charged. Verify that your transmitter and receiver are properly paired. Most problems come from loose wires or dead batteries.
Fine-Tune Performance
Once your radio-controlled car runs, you can improve how it drives.
Adjust steering sensitivity by changing the servo speed or adjusting mechanical linkage length. Some prefer quick, snappy steering. Others like it smooth and gradual. Experiment to find what feels best.
Test throttle response by adjusting ESC settings. Try going faster or slower than default. Find the sweet spot where your car responds predictably.
Check suspension stiffness. Stiffer springs make your car sit lower and handle tighter corners. Softer springs let it bounce more and absorb bumps better. Try both and see which feels better.
Balance and weight distribution matter too. Add weight to the center of the car if it feels twitchy. Move weight forward or backward slightly to change handling characteristics.
Upgrade and Customize
After running your DIY RC car for a while, you’ll think of upgrades.
Swap the motor for something faster or more powerful. Upgrade to a better speed controller with more features. Install a more precise servo for sharper steering.
Change your tires for different terrain. Treaded tires grip dirt better. Slick tires go faster on smooth ground.
Paint your body shell custom colors. Add stickers or designs. Make it look exactly how you want.
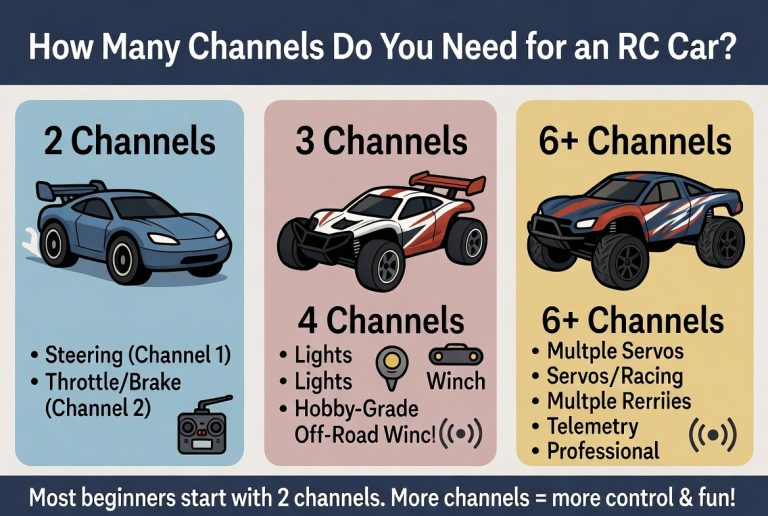
Upgrade to a better radio system with more channels and features. Install LED lights so you can drive at night.
The beauty of building from scratch is that everything is upgradeable. As you learn, you’ll make changes that improve performance and add personal style.
Maintenance Tips
Keep your remote control car running strong with basic care.
Clean the chassis and motor after driving in dirt. Use a soft brush and compressed air. Remove any grass or debris wrapped around moving parts.
Check all screws and bolts regularly. Vibration during operation can loosen them over time. Tighten anything that moves.
Inspect your battery before each use. Look for swelling or damage. Replace the battery if you see any problems.
Charge your battery properly every time. Don’t leave it sitting uncharged for weeks. Store it in a cool, dry place.
Replace tires when they wear down. Worn tires don’t grip well and make your car harder to control.
Check the servo and motor for smooth movement. If they feel gritty or resistant, they might need lubrication.
Common Problems and Solutions
Your remote controlled car might act up sometimes. Here’s how to fix common issues.
Car won’t turn on: Check that the battery is charged. Look for loose wires. Make sure the power switch is actually on.
Wheels don’t spin: The motor might not be getting power. Check all connections. Verify the battery has charge. Make sure the ESC isn’t in brake mode.
Steering doesn’t work: The servo might not be connected. Check the receiver connections. Try reprogramming your system.
Car pulls to one side: Wheels might not be straight. Check suspension alignment. Adjust steering trim on your transmitter.
Battery dies quickly: The battery might be worn out. Charge it fully before using. Check for motor or servo drawing too much power.
Car runs too slow: The battery might not be charged fully. The motor could be overheating. Try a higher voltage battery if your ESC supports it.
Troubleshooting Your Build
When something goes wrong, think through it logically.
Does the problem happen right away or after running a while? Problems that start immediately usually point to wiring or connection issues. Problems that develop over time might mean something is overheating or wearing out.
What exactly happens? Does the car not respond at all? Does it move but steering fails? Does it work but run slowly? The specific problem narrows down where to look.
Check one thing at a time. Don’t change multiple parts at once. Fix something, test it, then move to the next potential problem.
Write down what you tried. Keep notes about what worked and what didn’t. This helps when similar problems pop up later.
Getting Faster and Better
Your skills improve with practice. Start slow and gentle as you learn.
Drive in empty parking lots before trying tight spaces. Build your confidence with straight lines and wide turns.
Practice on different surfaces – smooth concrete, grass, dirt. Each surface handles differently.
Join local RC clubs or online communities. Other builders love sharing tips and helping newcomers. You’ll learn faster by getting advice from experienced people.
Watch videos of people driving similar cars. See how they handle turns and obstacles. Copy their techniques as you improve.
Final Thoughts
Building your own remote control car from scratch takes time and patience, but you can totally do this. You’ll end up with a car you understand completely and enjoy more because you built it.
The best part? Once you finish this first build, you’ll want to build more. You might try different chassis types or experiment with custom designs. The skills you learn building your first RC car unlock endless possibilities.
Start simple, follow these steps, and don’t worry about making mistakes. Every builder makes them. That’s how you learn.
Grab your tools, order your parts, and get started. Your remote controlled car is waiting to be built.